Starting a blog can be a bit daunting.
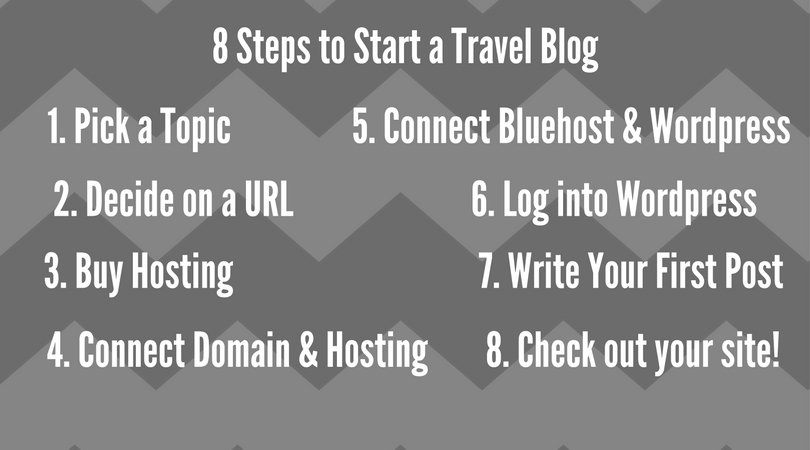
We’ve come up with 8 steps to help you get started with your travel blog. In this guide, we will walk you through each of them. We’ll also share with you some tips we’ve learned along the way.
* This tutorial contains an affiliate link. We only promote products we have used and believe in!
1. PICK A TOPIC FOR YOUR BLOG
What do you want your blog to be about? You will find a blog about almost everything on the internet. The more you can zero in on your topic (or niche) the better you will be in the long run. If your goal is to build a following or community, this becomes very important!
A few tips from experience:
- Pick something you could write about forever! If you love talking/writing about it, you will find it a lot easier and less daunting to blog about it.
- Narrow it down even further. Urbandictionary.com defines Niche as “An area of the market specializing in one type of product or service.” We chose to blog about a niche within a niche, as we chose RVing as a young family. We may still have readers that benefit from our content that are not in this category, but our target is to empower those who want to RV as a young family.
2. DECIDE WHAT YOU WANT YOUR URL TO BE

www.incredibledash.com
This step can be tough, but try not to let it get you stuck! The biggest tip I have is to try to think long term vs short term. Example: When we were military I started a blog called raisingmonkey.com – we only had one kiddo at the time and her nickname was monkey. It got immensely awkward when we added another kiddo to our tribe and then I needed a new URL as well.
We went back and forth about what to name ours for a long time. We ended up with Living Our Incredible Dash because ultimately, whether we are in an RV or not, we want to live our “dash” (the time between being born and dying) to the fullest. We don’t want to look back and have regrets and wish we’d spent more time with family. We don’t have any plans to stop RVing, probably ever, but if we do, our name will still fit and allow us to keep sharing our journey.
Here are a couple blogs we follow with names we really like:
http://ourtravelingtribe.com/ – A family travel blog by the Ticknor’s.
http://ditchingsuburbia.com/ – A blog about ditching the suburbs to hit the road.
https://lessjunkmorejourney.com/ – A family travel blog by the Moss Family.
Here are a few tips for choosing a domain name:
- Make it short and memorable.
- Avoid unique spelling or misspelling of words on purpose.
- Make it relevant to your niche/blog topic.
- Use .com. It’s the most common and recognizable.
Don’t overthink this step! Keep it simple and don’t let yourself get stuck here. Worst case, you can always change it later.
Where to buy your domain? We recommend BlueHost.com – especially if you use them for hosting. It’s nice to have it all done in the same place! Bonus – when you sign up for hosting with Bluehost, you get a domain for free!
3. BUY HOSTING FOR YOUR BLOG
After buying your domain, you will need to buy hosting through a provider, such as Bluehost. I’ve used Bluehost for every website I’ve ever set up and they’ve been great. You can also register your domain directly through Bluehost, which makes life a lot easier.
What is hosting?
For every website you go to, there is a hosting provider that allows that website to be online. Somewhere there is a large warehouse of physical servers that power various websites. In order to launch any website, you need to host it through a server. Bluehost is a company who can host your site for you and many bloggers, including myself have had great experiences with them!
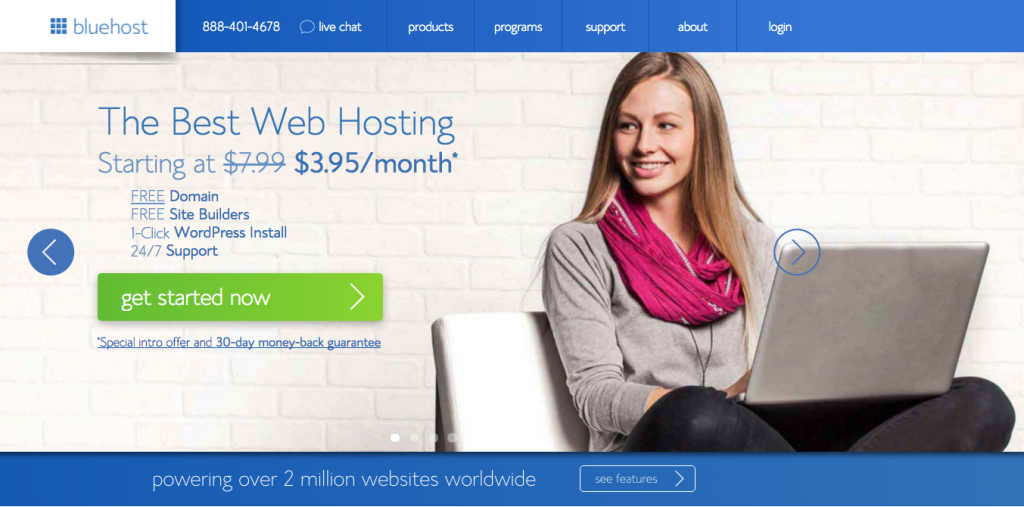
First, go to Bluehost.com and click “Get Started Now”
Next, select your plan. Basic will be good enough to get you started. You can always upgrade later if you want to! However, the “plus” plan does offer more storage if you plan to upload a lot of photos and videos.
If you haven’t yet done so, now is when you’ll want to register your domain.
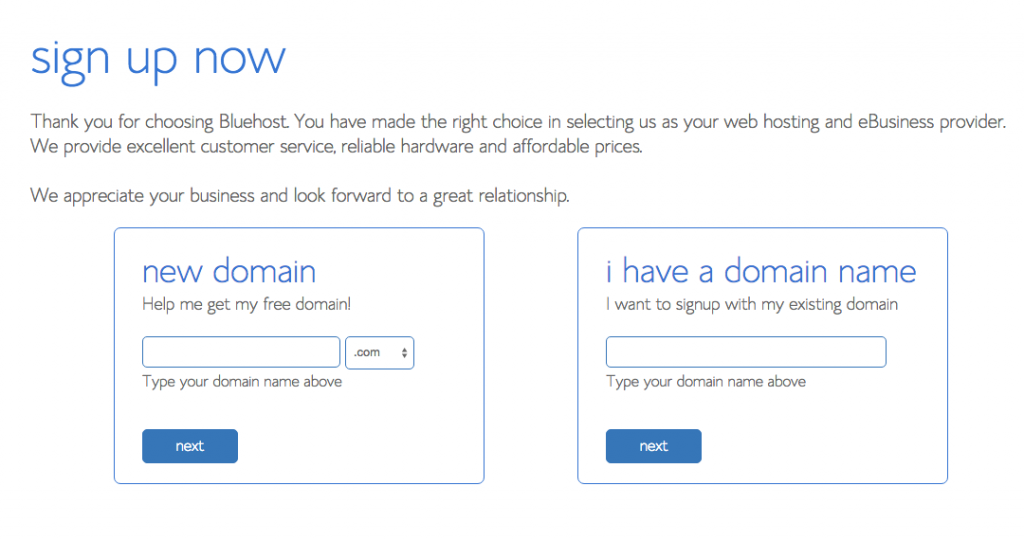
On the check out page, you can select any extras you want. The only ones I usually feel that I need are the privacy ones for under $1 per month. It is worth that to keep my information private.

4. CONNECT YOUR DOMAIN & HOSTING
You can skip this step if you set up your domain through Bluehost.
If you bought your domain through a site like Godaddy, you’ll need to switch your DNS servers to point over at Bluehost. Here’s how to do that.
- Log into your Godaddy account and go to your domain manager section.
- Click the domain you want to point to Bluehost.
- Launch the domain manager and under the Nameservers tab, click on “manage”.
- Select the Name Servers as custom and then change them to point at the default nameservers of Bluehost, which are:
- NS1.bluehost.com
- NS2.bluehost.com
Next, you’ll need to add the domain you bought through Godaddy as an add-on domain within your Bluehost Account. To do this you’ll log into your Bluehost Account, click on “Domains” and then click “Assign”.
5. Connect Your BlueHost with Your WordPress
Now that you’ve bought your domain and hosting, you can get to the good stuff… launching a WordPress site! WordPress is by far the most popular blogging and content management system in the world. I’ve used it on every site I’ve ever built and it makes it super easy to launch your site.
There are a lot of steps here! But don’t worry, stick with me – Bluehost makes this very easy for you!
- Log into your Bluehost account (You should see a dashboard that looks similar to this)
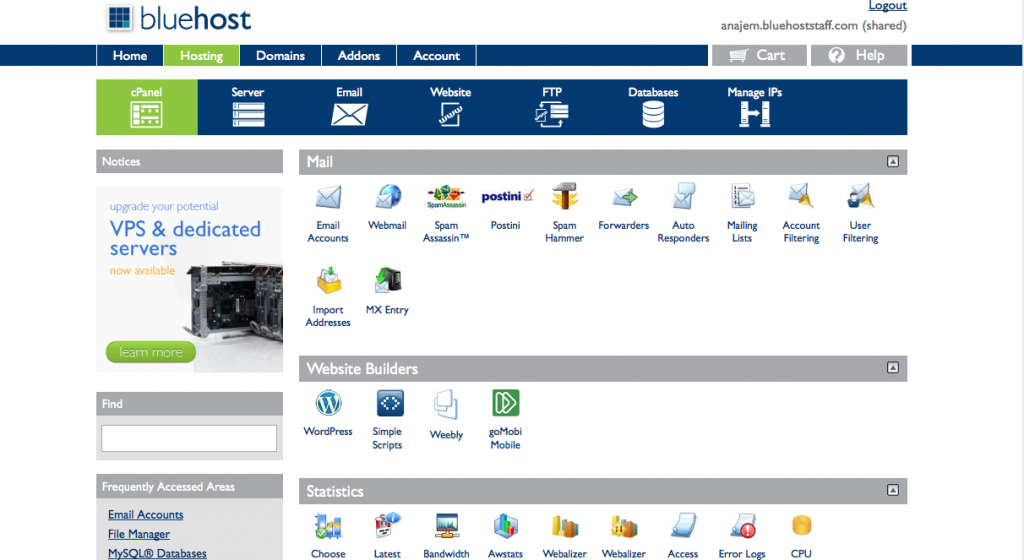
- Click on Install WordPress
- Select START (the green button)
- Select the domain name you want to be hosted on WordPress

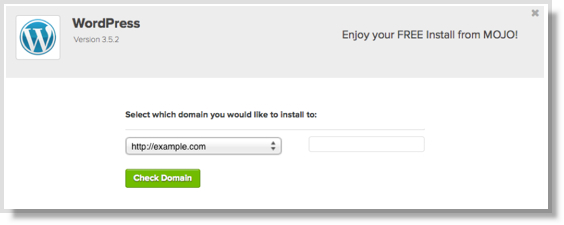

You’ll get a spinning circle saying that your domain is being checked.
Then you’ll get to the last step. Check “Show advanced options”. Key in your site title, as well as a username that will be an admin on the site. Pick something cool like Webmaster, YodaMaster or something. Then type in a really good password that no one will guess. Bring out the big security guns here and make it tricky.
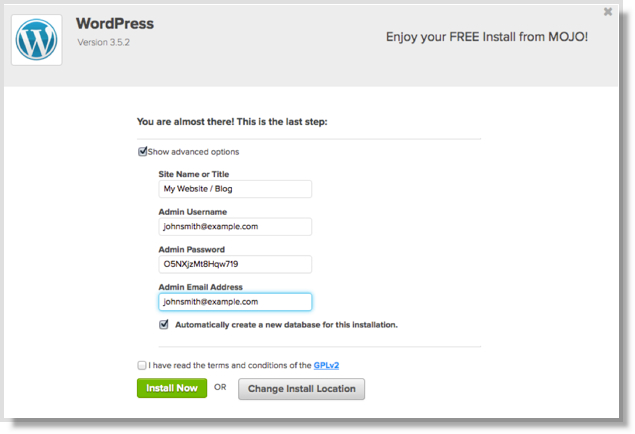
Once the install is complete click on VIEW CREDENTIALS

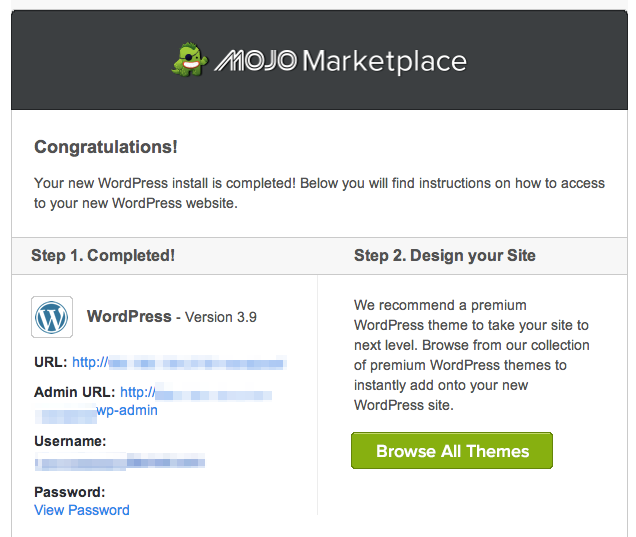
6. Log into WordPress.
It’s time to get started on building your site!
First login to your WordPress account. It will automatically take you to your “Dashboard” or the back-end of your website. Only you will ever see this. The left-hand menu is your navigation barwhere you to where you can click around toc add posts, pages, media, plugins, etc.
Now, you’ll want to install a theme to get up and running on your site. Once you’re inside your WordPress account you can go to Appearance > Themes to install your first WordPress theme. WordPress comes with many free themes out of the box, but you can also Google search “free WordPress blog themes” and find a plethora of themes to choose from.
7. Write your first post.
Before you get lost down the theme rabbit hole, let’s get content up your website!
Go to Posts > Add New to start your first blog. Your page should look something like this: (Don’t worry about the Google Maps note. That’s something we need to fix on our backend!)
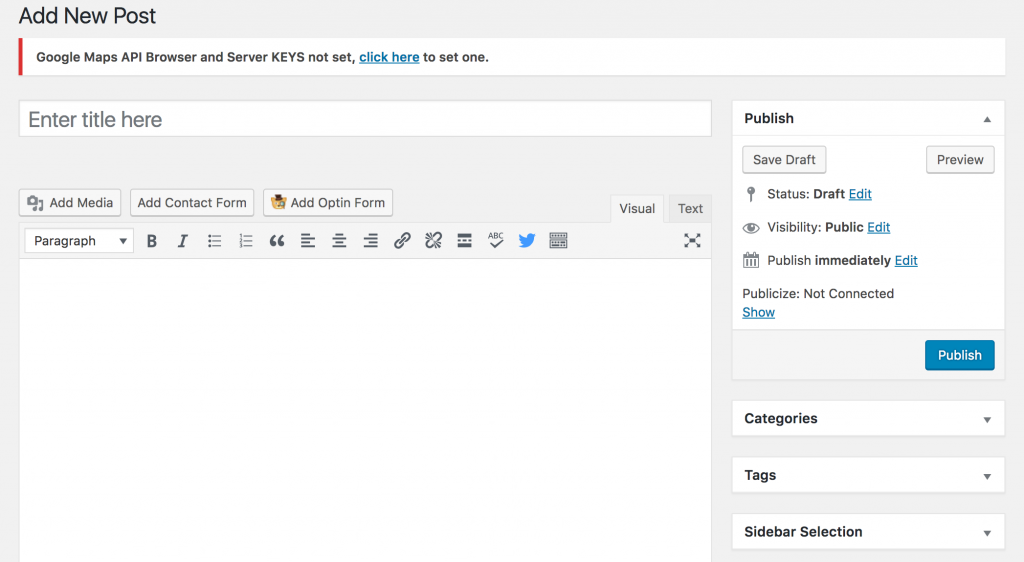
Go ahead and write your first blog to test everything out. A good first topic is an introduction to the blog explaining who you are, why you’re starting it and what you plan on blogging about.
8. Check out your new site!
After you hit publish on your first post, let’s see how your blog looks! There will be a “View Post” button at the top of your page after you hit publish.
If you haven’t added a theme yet, your site will look very basic. But you did it! It’s live, and you already have one post! That’s fantastic!
With blogging, the hardest part is consistently showing up over time to create new content for your readers. It’s not difficult to start a blog or pick a subject to talk about, it’s difficult to write new posts every day or week while you have little to no readership. But don’t get discouraged, this is all part of the process and every blogger starts at zero.
Do you have any questions about setting up your blog or are you getting stuck? Drop a comment below and I’ll answer all of them. If you used this tutorial to create your first blog, drop a link to your URL in the comments so I can check it out!
We plan to offer more on blog development in the near future. Basics like creating blog posts, structuring your blog, how to monetize your blog etc. Sign up for our mailing list and you’ll be the first to know when this is available!

I love hearing from my readers - thanks for leaving a comment!